A free, open-source and easily customisable starter kit to create your own online recipes cookbook.
Get started now or check out a demo of the kit in action.Features
Easy to set up and maintain
Get started in minutes. No coding required ! All the recipes and site options are editable from the admin interface. Focus on writing your recipes, not fighting to make your website work.
Optimised for recipes
Unlike other general-purpose templates and website builders, My Online Cookbook is optimised out of the box for writing and finding your recipes. Quickly visualise which ingredients you need, easily search for recipes using specific ingredients, and automatically adapt quantities based on the number of servings.
No strings attached
You own all of your content, not some online platform. Your website, your rules. No tracking scripts, no annoying popups, no ads (unless you choose to add some).
Showcase
Base project
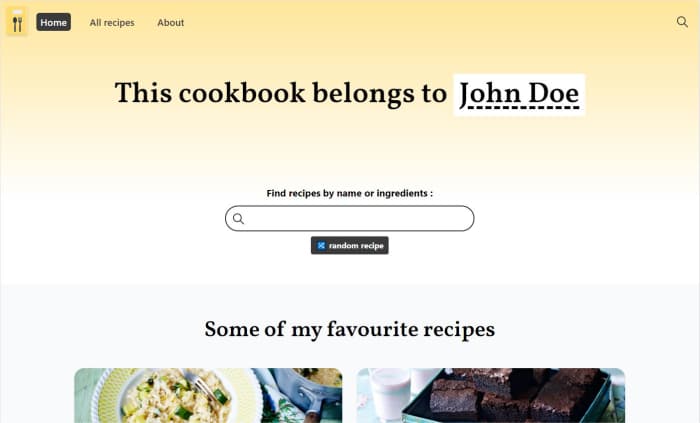
This is what you get out of the box.
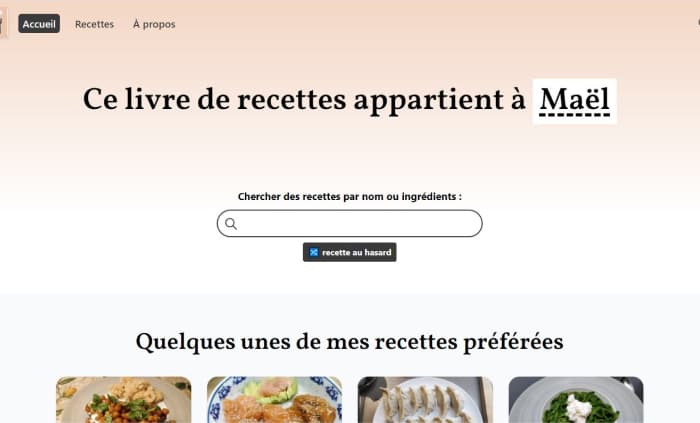
This one is my own cookbook. It’s in French (the kit is fully translatable).
My recipes
Add your own
If you created your own cookbook with the kit and would like to be featured here, please get in touch !
How to get started
If you are a developer, you may find it easier to read the technical documentation on the project’s GitHub repository.
Otherwise, read the instructions or watch the video below then click on  to set up your website.
Instructions
- You'll need a GitHub account (this is where the code of your site will be kept) and a Netlify account (to host and deploy your site). Simply go to these sites, click on "sign up" and follow the instructions. These are tools primarily made for developers, but don't worry ! You don't need to know how to code to use them.
- Click on the "deploy to Netlify" button above, connect to GitHub, choose your repository name (this is only for you and will not be visible to visitors of your site) and click "save & deploy". Once finished, you'll be redirected to the Netlify dashboard, where you should see the live URL of your site at the top (which you can change later), and the status of the deployment.
- You'll also have received an email at the email address you signed up with Netlify. Click on the link to complete the creation of the admin user of your website (do this before you change the URL of your site, otherwise you'll need to resend a new email invite).
- Click on the URL of your site in the Netlify dashboard (it should look something like "https://random-words-12345.netlify.app"). To go to the admin interface, simply write "/admin" after the URL (e.g. "https://random-words-12345.netlify.app/admin"). Any changes you make here (after clicking on "publish") will update your website after around 30 seconds.
- That's it, enjoy your website !
Contact & support
If you have any questions, run into any problems using this kit, or would like to suggest any ideas or code changes, the best thing is to open an issue on the github repository of the project. You can also contact me over on Twitter for any quick question or feedback. If you used and liked the kit, I would love to hear about it ! 🙂